So, you’ve decided that you want to be a lighting technician, that’s fantastic! It’s a fun department to work in, can pay very well and gets you right in the action where you can really learn a lot about film making. Sadly, most film schools don’t actually teach you about the tools you will be using everyday as a technician.
First you need to get yourself a belt. Don’t go with a massive construction worker type belt! I have seen several people show up with these on their first day and regret it by lunch. Your best bet is to get some smaller pouch type tool holsters and customize your belt to your needs.
You can find some good looking tool pouches on Amazon.com. Look around and buy something you think will suite your needs. You can also check out our Amazon film equipment store.
Once you have what you need, its time to setup your belt. There isn’t really a right or wrong way, It’s all about whatever is comfortable and works for you.
Keep noise and weight distribution in mind though. Check out what the other lighting technicians are wearing and figure out what you like. Some People incorporate suspenders into their belts, some even use gun shoulder holsters, check some out on amazon.com.
Lighting Technician Tools:
Here’s what you need to have on your belt and why…
Leather Gloves
Probably the most important things to have on you! They should be made of cow hide or some equivalent because you will be using them to handle very hot lights, but they are also great for wrapping cable or handling hardware.
There are always places you can touch a light without risk of getting burned and often times I won’t bother with my gloves If I have to make a quick tweak right before a take, but save yourself the risk. Wear your gloves!
Check out some leather work gloves on Amazon.com
Screw Driver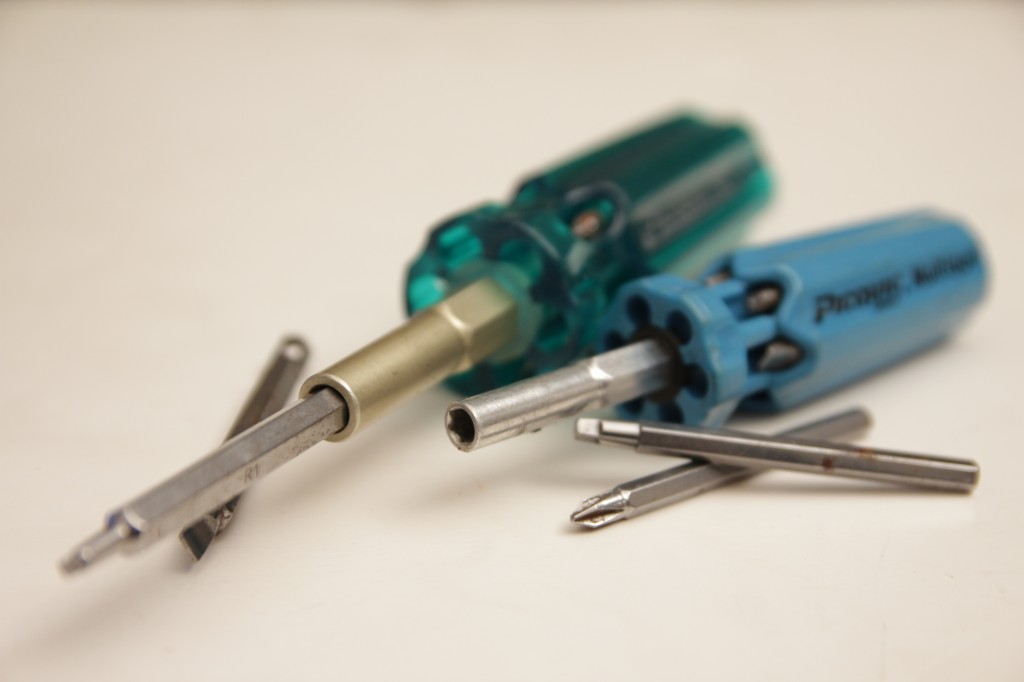
I prefer a picquic, but any sort of multi screw driver is great to have. Picquic is a Canadian brand, but extremely durable AND you can pop the bits right in your drill! I’ve used the same one for almost 4 years, and only bought a new one recently because it was on sale.
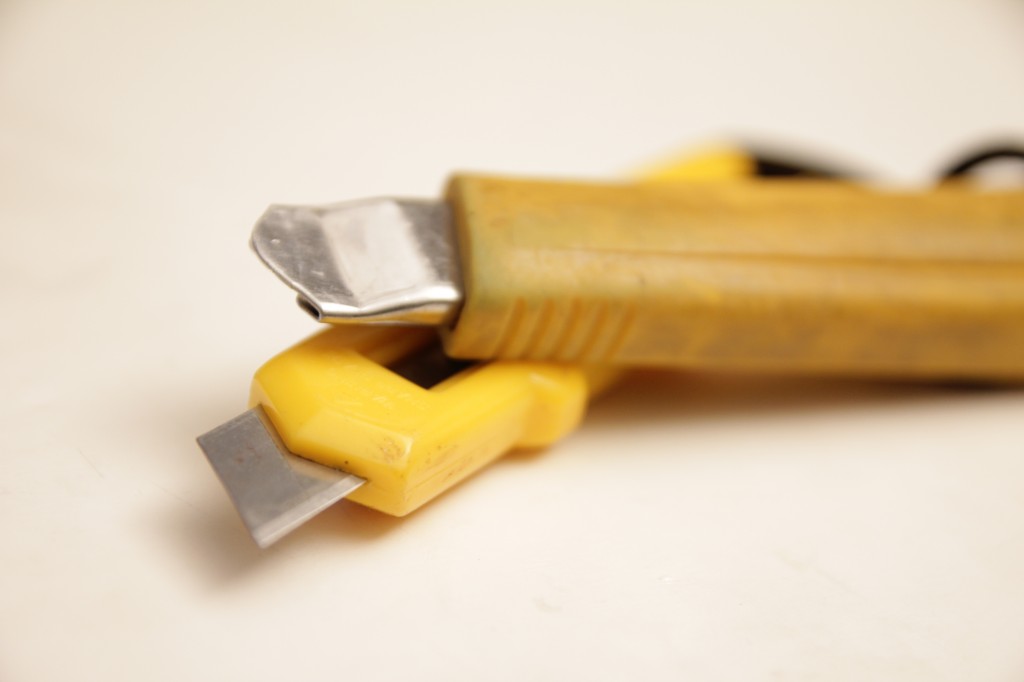 A Knife
Olfas are the best! Spend a little extra and get the one with the rubber handle, you wont regret it. Put some sash cord through the hole in the handle and put it around your wrist when using it on a ladder or in a lift. The last thing you need to do is drop your blade on someone on your first day.
Scissors
I prefer Electrician Scissors. Scissors will be mainly used for the more precise gel cuts, but could be very handy for quick rewiring jobs or even just letting your pals in camera or art borrow them in a pinch.
Electrician’s Scissors on Amazon.com
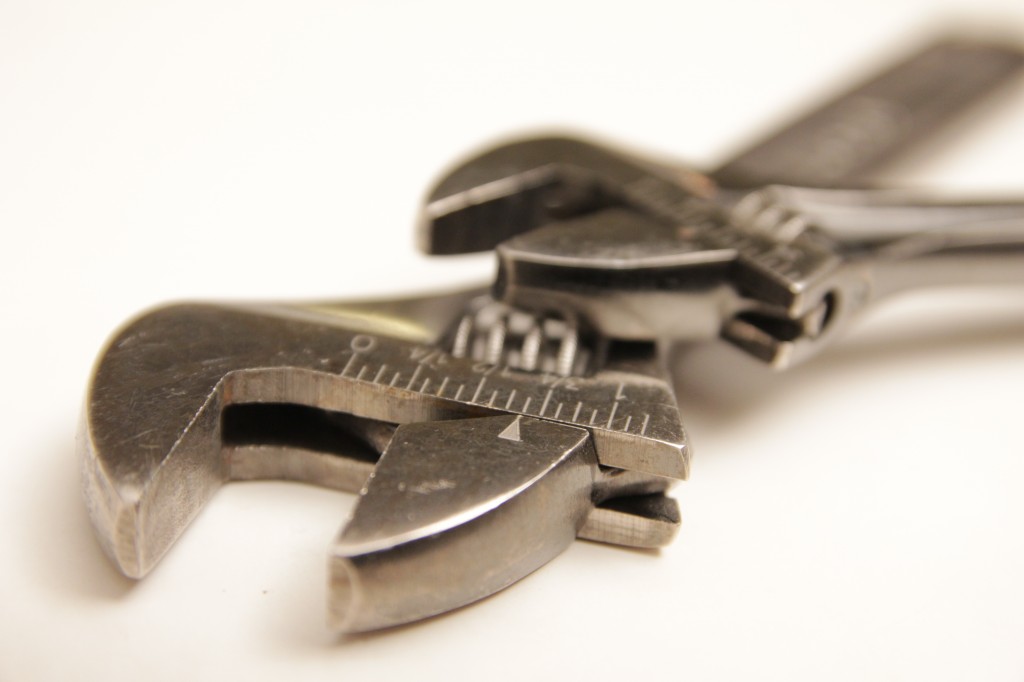 C-Wrench
An 8inch adjustable wrench is a must have! You are almost useless without it. You can get an extra wide 6inch if the 8 is too bulky for you, just go to your local hardware store and compare wrenches until you find the one that works for you. Just like the Olfa put some sash through the hole in the handle and wrap it around your wrist when working up high, safety first.
Crescent Wrenches on Amazon.com
Flashlight
A Maglight is pretty much industry standard, but almost any flashlight will do. you can get some pretty great inexpensive LED flash lights anywhere these days. I also carry a windup flashlight in my tool bag, just in case.
Wind up flashlight on Amazon.com
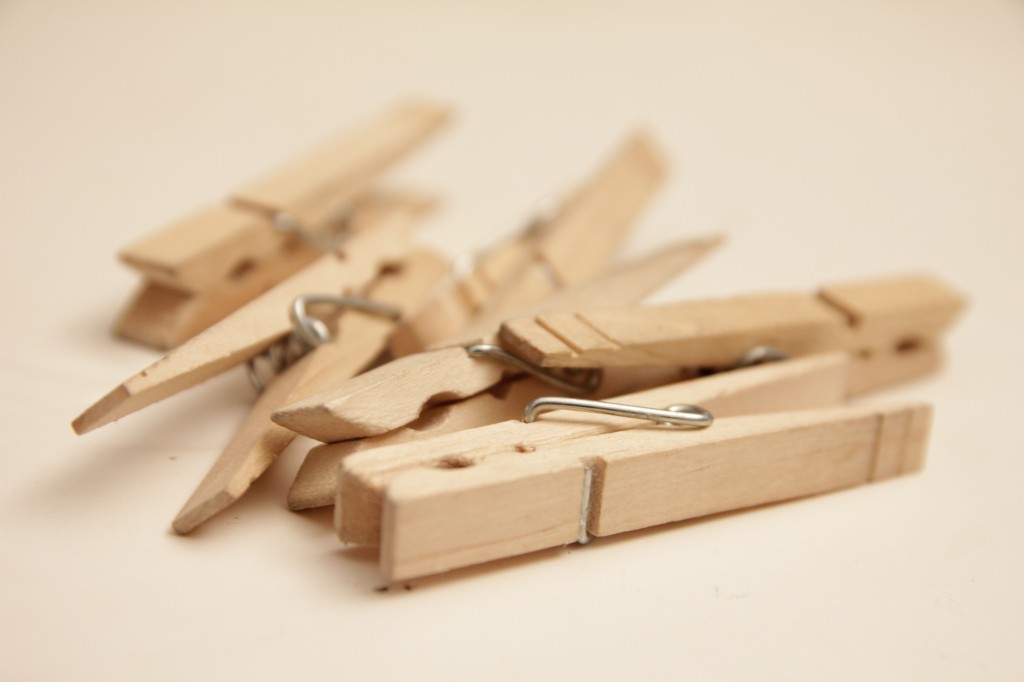 Clothes Pegs
Otherwise known as a C-47, Clothes Pegs aren’t just for clipping gels on to lights. You can pull one apart and use for very tiny precise leveling or flip them backwards (c-74) and use them to pull scrims out of lights. Pay a little more and get the heavy-duty ones, it’s worth it.
C-47 (Clothes Pegs) on Amazon.com
Multi tool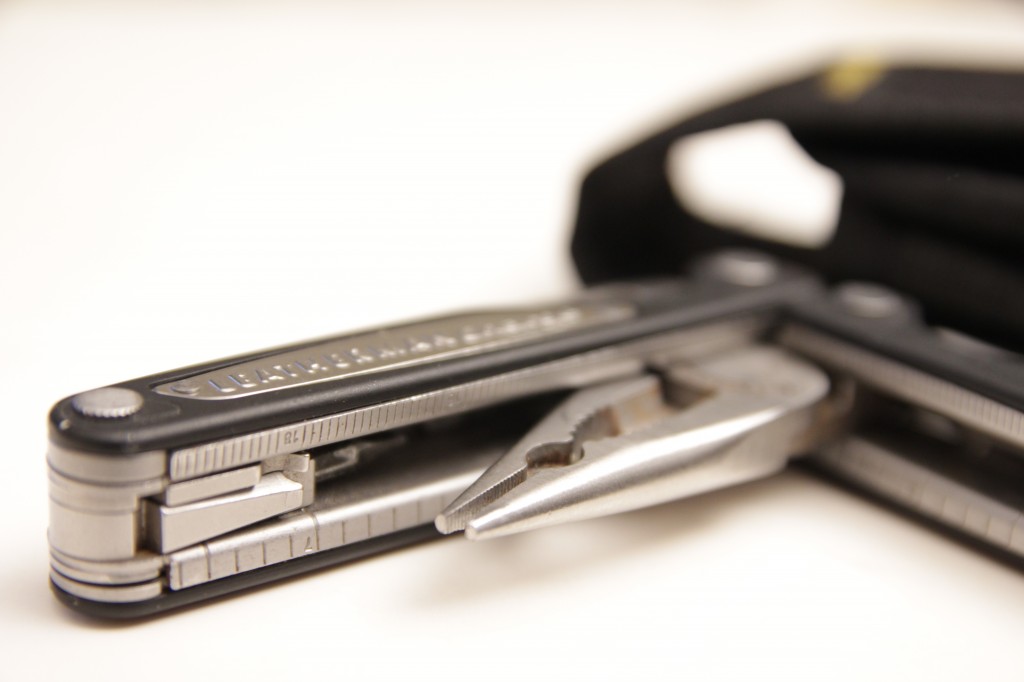
A Leatherman is your best friend! They are so useful that many techs wear them wherever they go. Many Cinematographers and 1st Assistant Directors will also carry one.
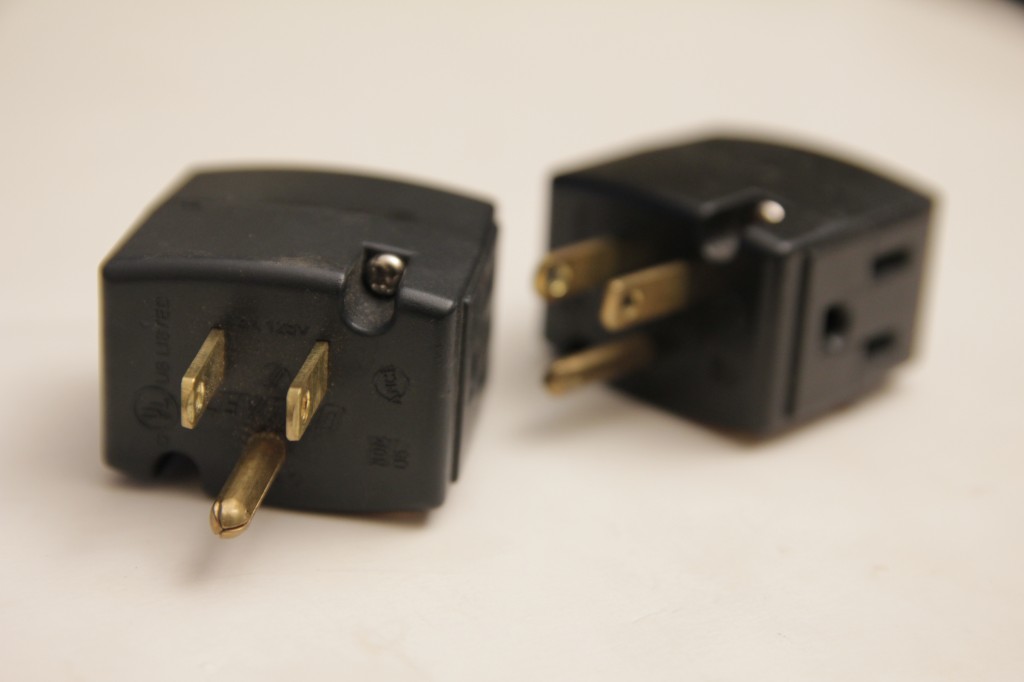 Cube Tap
Try to carry at least 2. I can’t even count the amount of setup time I’ve saved when adding a last-minute light thanks to a cube tap. Be aware of how much wattage you’re running through it though! They are rated for 15amps and the last thing you want is to melt one.
Circuit Tester/ Line Tester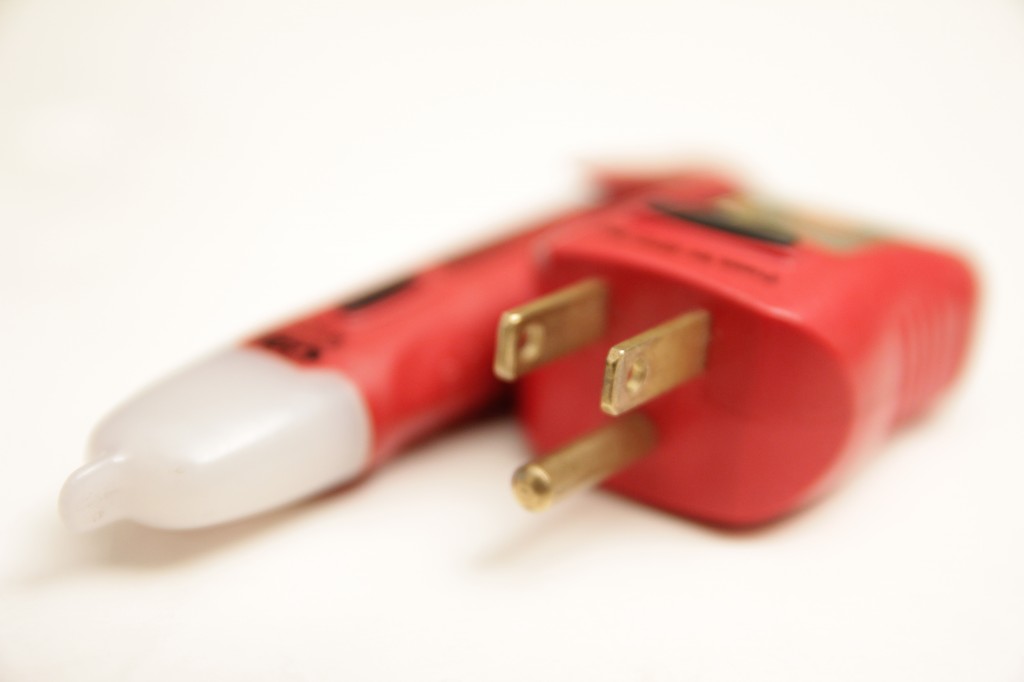
A circuit tester plugs in to an Edison and tells you if its hot, it will also let you know if the ground is correct and polarization. Spend a little extra and get another one with the GFCI tester built-in. Also get a line tester, these indicate if a wire has current flowing through it. Great for quick trouble shooting.
Get a Circuit Tester on Amazon.com
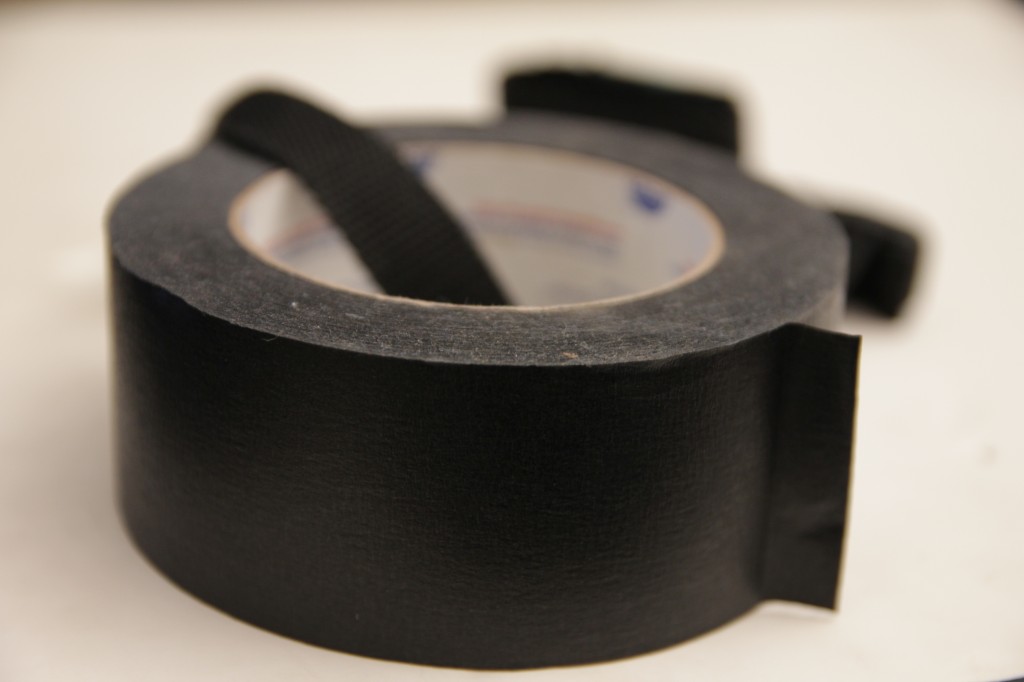 2 Inch Black Paper Tape
You will probably find you use this more than gaffer tape, 2 inch black paper is a must! You can use it to tape gel or diffusion onto a kino (pegs can be really awkward and I avoid them on kinos) or tape cables to walls or across ceilings, yes it can be that gentle on paint. One of my favorite uses is what we like to call a “Portuguese dimmer” sometimes you will get into a situation where you’re at low output and 1 bubble on a kino with the grid in, suddenly the DP asks you to bring the kino down a bit more…what do you do? Put some tape on it!
Black paper tape on Amazon.com
Measuring Tape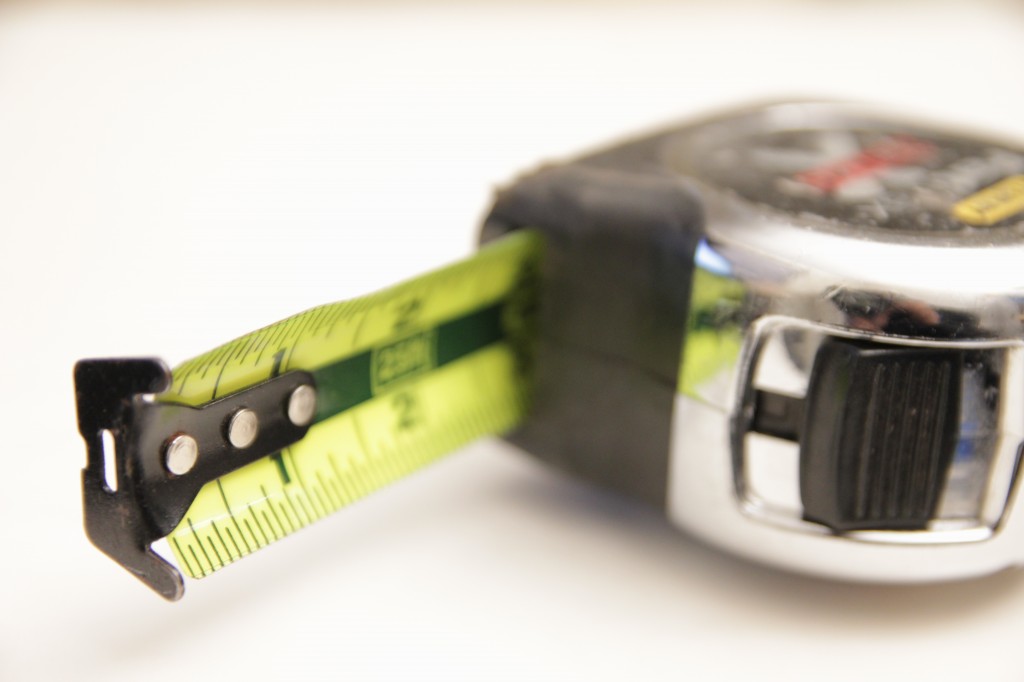
I carry a smaller one on me and have an extra 25 footer in my bag. Usually the grips will always have a 25 footer.
Permanent Marker
A black sharpie can be very handy for labeling cables, diefs or ballasts, marking the height of a stand or drawing a mustache on your best boy after he’s fallen asleep in the truck.
Multicoloured Pen
Mostly used in the Camera department, but definitely a staple for any department. The ability to change colours is invaluable, also they just look cool as hell.
Multicoloured pen on Amazon.com
Notepad
It takes time and experience to develop the ability to remember several light types and positions. Don’t be afraid to take notes when going through a setup. You’ll notice as you get better and more experienced you won’t need to rely on your note pad as much, but that doesn’t mean leave it at home!
Bubble Level
I just think they’re cute…;) All kidding aside; These are great for leveling lighting stands.
For our grip brothers, just cut out the spark tools and you’re set!
The trick for carrying all that junk on you is to spread the weight out as much as possible. Loading up one hip is asking for back trouble later in life. Also, be sure you learn your setup before you show up on set, the point of wearing all that gear is to be quick and efficient, yet I often see people fumbling for their multi tool or forgetting they have tape sached to their belt.
When I started off I used to carry absolutely EVERYTHING on me, much more than what the list says. As I gained experience I started to realize I was just doing more harm than good and started to slim things down. These days I decide what I wear based on the job. I also took a note from our friends in Camera and built myself a little set ditty to keep close. Here’s what I carry in that…
- Set Lighting Technician’s Handbook, buy one on Amazon: The bible as far as I’m concerned. I even put Post-it notes in the more important areas for quick access.
- Electrical Safety Authority Booklet.
- Mini first aid kit! There should be one on set, but I carry an extra one, just in case or emergencies.
- Sunscreen, raincoat and extra socks. When I can I’ll try to bring extra boots and a change of clothes to set as well.
- Extra knife, blades, gloves, wrench, screw driver, flashlight and some pliers. You could break a tool at any moment or have a new 3rd or PA helping you that isn’t prepared. A headlamp, your best friend during night exteriors or dark studio days.
- Allen Key Set, Imperial and Metric. Ratchet set.
- Various Electrical tools: Wire Strippers, Red, Blue, Black, White and Green Electrical tape, clamp meter, marrets etc.
- Tape Stringer with Gaffer tape, black paper, white cloth and black cloth tape. Often times I’ll hang this stringer of one of the locking bolts on the keylight, just so its close by.
- Roscoe and Lee gel booklets!! Especially as a best boy, these are a godsend. Often times you’ll be looking up gels and placing orders at the last-minute and they will save your life. Should be able to get them for free at your local rental houses.
Basically, carry as much as you can, if you can. Don’t go crazy, but try to be aware of any potential needs. Even carrying as much as I do, I have been in the situation where I decided not to bring something and got asked for that particular item that day.
Check out some other blogs that talk about Lighting Technician Tools:
Feel free to comment below and please let me know if I’ve missed anything. This is a very big post for my second ever…so I’ll need all the help I can get. Thanks!


